Dolomites Photography: Skiing with a Camera
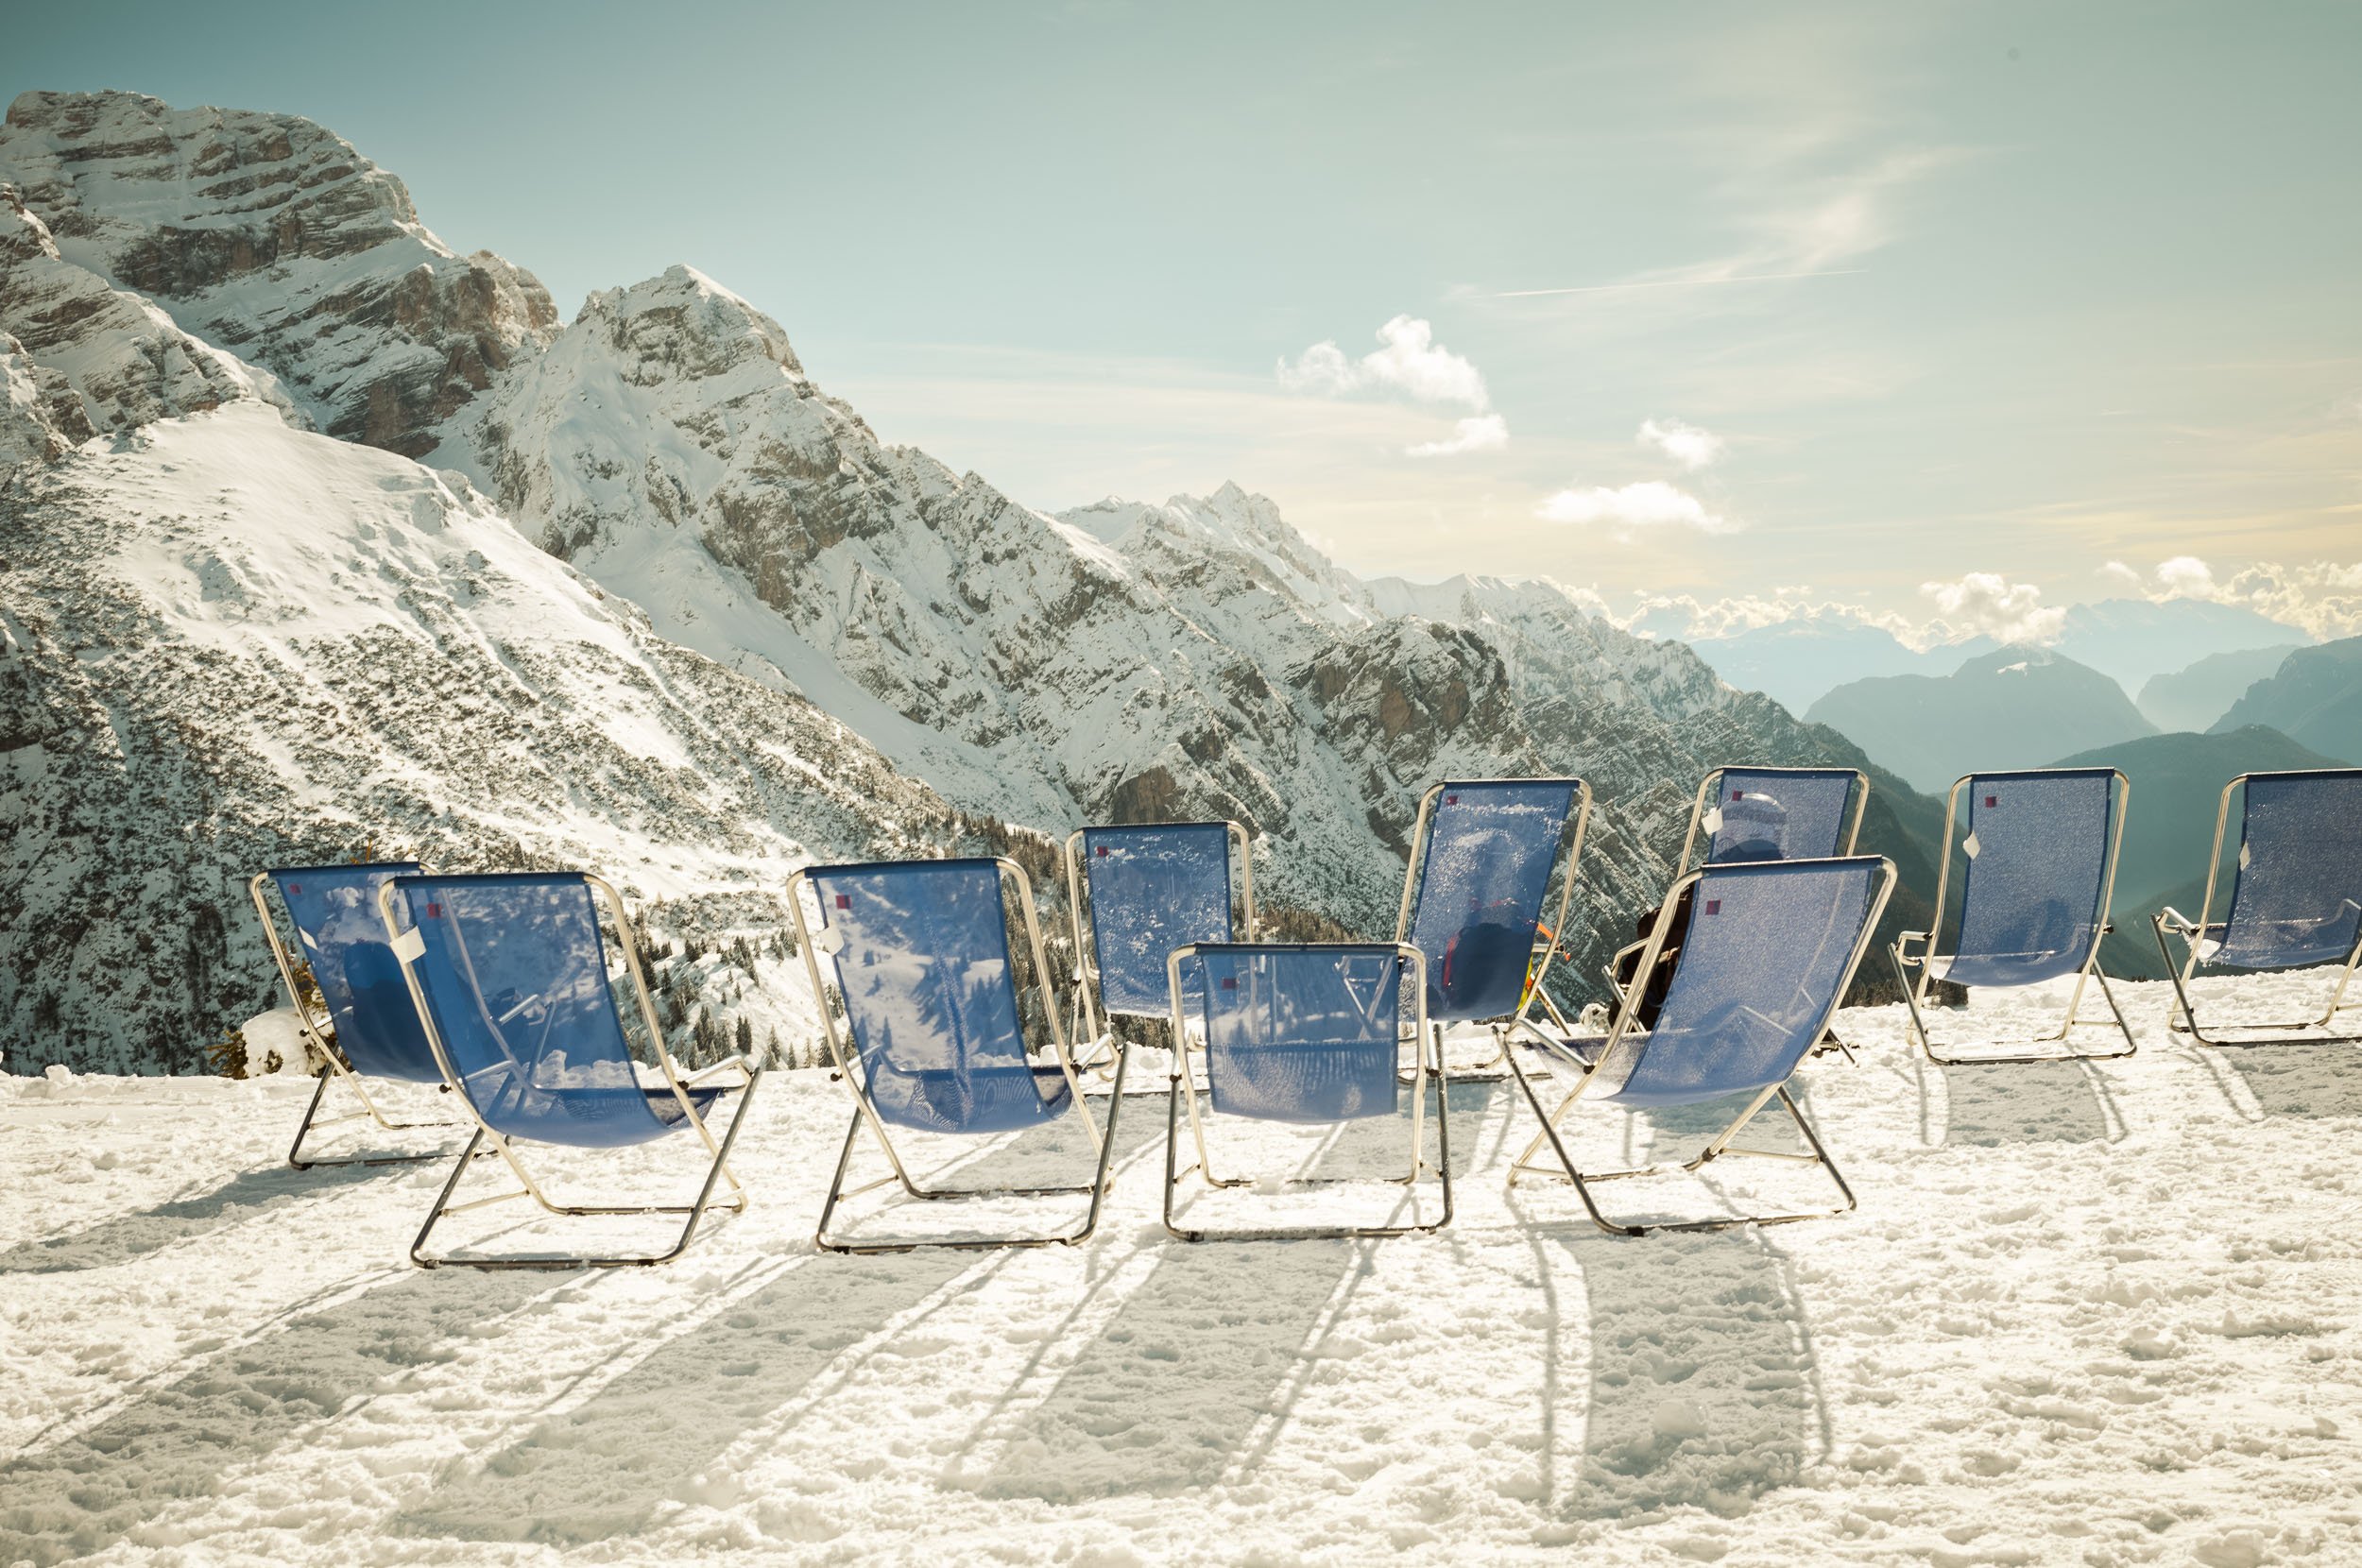
Just returned from skiing adventure with my camera in the Dolomites. Yes, SKIING WITH MY CAMERA. I can assure you, that for me, despite being a good skier, it was both exciting and nerve-wrecking. How could I possibly protect my beloved camera while carving through the snow down the slopes?
Having been returning to my favorite spot in the Dolomites for many years, I didn’t have to worry about location planning and scouting. The Trentino Dolomites always amaze me with their stunning year-round beauty. Each visit is not just about capturing breathtaking moments on camera, but also about indulging in the delicious food, enjoying the company of great friends, and soaking in the majestic scenery. If you haven’t experienced the Trentino Dolomites yet, I hope my photographs will inspire you to make the trip.
Let's dive into the essentials of preparing my camera for the skiing adventure, along with some safety tips.
Gear Prep and Safety tips
Proper Protection
A couple years ago, my husband bought me a weather-sealed mini messenger bag, and I must to say, it’s one of my addition to my handbag collection:). I can wear it either as a cross body or a waist bag. Thanks to this, I know that my camera and lenses are well protected from moisture, snow, and extreme cold. Lens hoods and filters shield against snowflakes or water droplets. Plus, its design matches well with any outfit too!
Battery Management:
Cold weather can drain batteries faster, so I carried a spare one. You can warm up batteries inside your jacket before use to extend their lifespan during shooting sessions. I was pleasantly surprised how long Leica’s battery lasted! To be honest, weather was on my side too - sunny February day!
Handle with Care:
Sudden temperature changes when transitioning from outdoor to indoor environments can make condensation inside your gear. I used a microfiber cloth to gently wipe away any moisture or snowflakes and I also packed moisture-absorbing silica gel packets inside my bag to absorb any excess moisture. In this case, it was just a precaution, as it was warm and sunny, and I didn’t have to deal with extreme temperatures.
Capture with Confidence:
Leica M11 excels in extreme conditions, boasting improved weather sealing and durability. Its high-resolution sensor and exceptional low-light performance ensure stunning image quality even in challenging lighting conditions.
Safety First:
Are you easily caught up in the thrill of capturing stunning shots while skiing? While it can be very exciting for some, it's crucial to remember that skiing or snowboarding is a shared experience. Being mindful of others and maintaining a safe distance, especially near cliffs, can prevent accidents. So, let’s leave the airpods with loud music behind, stay alert, and prioritise safety above all else.
Enjoy the Moment:
While capturing breathtaking images is undoubtedly rewarding, remember to immerse yourself in the experience and savor the beauty of the Dolomites. Take breaks to appreciate the stunning landscapes and recharge both yourself and your gear. Doss del Sabion is the best "‘rifugio’ to get recharged with quick refreshment or a long gourmet dish, relax and appreciate the amazing 360-degree view.
I waited for the right composition and captured a paraglider floating in the air during my break at Doss del Sabion. It was an amazing scenery.
What was in my camera bag?
Leica M11
35mm Summilux
50mm Apo summicron
Extra battery and charger
Silica gel packet
UV filter
Clean microfiber cloth
As I reflect on my skiing adventure with a proper camera in the stunning Dolomites, I admit it has been both exhilarating and enlightening. Experiences like these are best shared with friends, filled with the joy and memories. The crisp mountain air, the rush of skiing down pristine slopes, and the breathtaking views around every corner—all captured through the lens of my camera, imprinted in my memory.
Note to self: embrace skiing with a camera, pack a zoom lens for enhanced captures, and extend the stay for even more cherished moments!
Discover more images in my Travel Photography Collection.
Happy skiing and catchMYzoom!
Jitka
Exploring Madrid's Essence with Leica M11 and 35mm/50mm Lenses
Last month, as I prepared for my short city break in Madrid, a delightful dilemma unfolded before me: the choice between the trusty 50mm and the immersive 35mm lens. As a relatively new and humble owner of Leica M11, the prospect of discovering Madrid through the lens of my Leica was an exciting one. Picture me, standing before my camera bag, with both the Leica 50mm and 35mm lenses beckoning me to make a choice. Each lens possessed its own unique charm and capabilities, and the decision before me held the potential to influence the way I'd capture the essence of the city. I, however, couldn't resist the temptation of having both lenses at my disposal, so I left with both.
The 35mm Lens: Discovering the Intimate Details
The 35mm lens is like a storyteller. Its focal length offers a near-natural perspective. I browsed through the heart of Madrid's streets and neighborhoods and captured the details of:
Street Photography: Madrid's streets are bustling with life, from its historic center to the charming barrios. The 35mm lens proved to be perfect for capturing candid moments, the expressions of locals, and the ever-changing dynamics of the city.
Architecture: With this lens, I focused on the ornate façades, wrought-iron balconies.
Markets and Cafés: The 35mm lens beautifully conveyed the warmth and authenticity of Madrid's Mercado de San Miguel, from its colorful food stalls to the inviting aroma of café con leche and churos.
Alleys and Plazas: I wandered through the charming and picturesque Plaza Mayor and found the 35mm lens perfect for capturing the architectural details and busy tourists admiring the Madrid’s temperament.
Night and Low Light Photography: Despite leaving my tripod behind, the 35mm lens captured the magic of Madrid at night. In places like the Cathedral de la Almudena, it beautifully detailed the intricate ceiling and the play of light within.
The 50mm Lens: Portraits and Classic Elegance
The 50mm lens is celebrated for its versatility and its capacity to craft timeless images. Often hailed as an all-rounder, it rightfully earned its reputation. With its standard focal length, it perfectly mirrors the natural perspective of the human eye, making it an exceptional companion for street photography. It’s amazing for (and not only) portraits, landscape, street photography, details.
With the 50mm lens, my attention was drawn to the passionate street performers and a busy life of tourists and locals at Puerta del Sol.
What was in my camera bag?
Leica Camera M11
35mm Summilux
50mm Apo summicron
Yes, this time, I traveled much lighter compared to my previous trips! I even didn’t need my proper camera bag, my handbag was just fine:)
To sum it up, having both the 35mm and 50mm lenses for my Madrid city break was a great choice. I enjoyed the freedom to switch between the two. While both lenses are remarkable in their own right, I found myself naturally gravitating towards the 35mm lens during this trip. Its wider field of view captured the vibrancy and intimacy of bustling streets. It allowed me to immerse myself in the surroundings, capturing both the subtle details and the unfolding stories. It made my go-to choice for street photography and city breaks.
Explore more images from Madrid in my Travel Photography Collection.
Happy exploring and catchMYzoom!
Jitka
Dreams in Motion: The Magic of Intentional Camera Movement Photography
Have you ever wondered how to transform a simple scene into something completely unexpected?
As a photographer, I am constantly searching for fresh ways to push the boundaries of creativity and capture images that evoke emotions and tell unique stories. One technique that has fascinated me is Intentional Camera Movement (ICM) photography.
It is all about embracing the blur, which often goes against the conventional norms of sharp and well-defined imagery. Instead of freezing a moment in time, I intentionally move my camera while the shutter is open, resulting in a blend of colours, shapes, and textures. The outcome is a dreamlike composition that allows me to interpret the image in my unique way.
Blue eMotions, Sardinia 2023
To dive into the world of ICM photography, all you need is a camera with manual settings and a sturdy tripod. The crucial aspect is to have control over your camera's settings, mainly the shutter speed.
3 Key Aspects of ICM
Shutter Speed Selection: Slower shutter speed (min around 1/4s and up to several seconds) allows enough time for camera movement. To achieve the desired results with very slow shutter speed, it's often necessary to use a tripod to maintain stability. I took the images of flowers (as you can see further in my blog) with shutter speed between 3s-8s and a tripod was a must in this case. The longer exposure time is what sets ICM apart from traditional photography and gives it its characteristic painterly effect. Depending on the light conditions, you may need to use Neutral Density (ND) filters to reduce the amount of light entering the camera.
Composition and Direction of Movement: I look for scenes with bold and contrasting colors, interesting patterns, or prominent lines. These elements form the foundation of composition.
ICM thrives on experimentation. Exploring various camera movements, including horizontal or vertical sweeps, circular motions, or even random jitters si the best way to play with ICM. The direction and intensity of camera movements will significantly influence the final outcome, allowing to create a diverse range of abstract and artistic images.
Manual Focus: In ICM photography, the blurring effect can confuse autofocus systems, leading to unwanted refocusing during the exposure. To maintain control over the focus, I prefer to switch my lens to manual focus mode that enables me to precisely set the focus point before capturing a shot. Depending on the scene I can intentionally choose to have certain elements in focus while letting others blur into abstraction. This control over focus adds another layer of creativity to compositions.
To me, ICM photography represents a departure from the technical precision that often dominates photography discussions. Instead, it's an invitation to let go of strict rules and embrace the unpredictable. Sounds like fun? Here's why I'm enjoying this technique:
Expressive Freedom: ICM offers a liberating sense of creative freedom. Each movement introduces an element of chance, allowing for unexpected beauty to emerge.
Unveiling Emotion: The abstract nature of ICM enables me to convey emotions and moods that are often difficult to capture through traditional photography. The play of colors and forms speaks directly to the viewer's emotions.
Artistic Interpretation: Just like abstract paintings, ICM images invite viewers to interpret the scene according to their own perspectives and experiences. The lack of concrete details encourages imagination and engagement.
Intentional Camera Movement photography is a journey of exploration and discovery. Through controlled camera motion, I've found a way to express emotions and transform reality. It’s a try and error technique and a reminder that photography is not just about capturing moments, but also about creating them. A gentle warning: Beware, it can be very addictive! :)
Discover more Abstract images in my gallery.
Enjoy ICM and catchMyzoom!
Jitka
Using Lines and Repetition for Stunning Results: My Composition Journey
In my photography journey, lines and repetitions have become invaluable tools in composition. Lines lead the eye with purpose, adding depth and context to my images, while repetitions infuse harmony and rhythm, transforming ordinary scenes into captivating visual symphonies. In this blog post, I will explore how to use lines and repetitions to create interesting compositions in your photography. If you can’t spot those elements right away there is a way how to train your your eye and that I’m covering later in this blog as well.
Lines
in photography can be both natural and man-made. Natural lines include things like the horizon, tree trunks, and rivers, while man-made lines include things like roads, fences, and architectural elements. By using lines in a photograph, you can lead the viewer's eye through the image and create a sense of depth and movement.
Repetition
on the other hand, is the repetition of patterns, shapes, colours or elements in a photograph. This can create a sense of rhythm and movement in the photograph, making it more interesting to look at.
My preference is to photograph the subject in a way that the camera is flat to the subject and the aperture is small to make sure everything stay in focus (maximum depth of field).
Tip: When composing a photograph, I try to use lines and repetition in a way that adds to the overall story or message of the photograph. For example, a photograph of a winding road with repeating trees on either side can convey a sense of journey and movement. Similarly, a photograph of a repeating pattern on a building can convey a sense of symmetry and order.
Lines and repetitions in photography can help to:
Add interest: Lines and repetitions add a unique element of interest and texture to a photo, making it more visually appealing and engaging.
Create movement: Lines and patterns can be used to guide the viewer's eye through the image and create a sense of movement and direction.
Enhance depth: By using lines and repetitions, a photo can appear more dynamic and three-dimensional, creating a sense of depth and dimensionality.
Add structure: The use of lines and repetitions can help to organise the elements within a photo and bring a sense of structure and stability to the composition.
It might be a bit difficult to spot these elements for your photography at the beginning but you can train your eye to see lines and repetitions! Here are a few things you might like to do:
Study the work of other photographers: Look at how other photographers use lines and repetitions in their images. Analyse how they use these elements to guide the viewer's eye and create a sense of movement and depth. Instagram is a great inspiration as well as Pinterest.
Practice looking for lines and repetitions: Start looking for lines and repetitions in your everyday surroundings, whether it's in architecture, nature, or other scenes. Practice identifying these elements and think about how you can incorporate them into your own photography.
Experiment with different compositions: Try different compositions that highlight lines and repetitions. Experiment with different angles, perspectives, and focal lengths to see how they affect the visibility of these elements.
Get creative: Try to find unique and interesting ways to incorporate lines and repetitions into your photos. Think outside the box and challenge yourself to come up with new and innovative compositions.
Have your eyes open and you can see these elements almost everywhere.
A photograph can be visually interesting and impactful without the use of lines and repetitions. The absence of these elements does not automatically make a photo flat or uninteresting.
However, I find lines and repetitions to be fun to play with when composing my photoshoot. Whether or not a photograph needs lines and repetitions depends on the individual photo and the photographer's creative vision.
Photography is not just about capturing moments but also about telling a story through your lens.
Happy hunting for leading lines and catchMYzoom!
Jitka